> ## Documentation Index
> Fetch the complete documentation index at: https://docs.membase.so/llms.txt
> Use this file to discover all available pages before exploring further.
# Quickstart
> Connect your first AI agent to Membase in 3 simple steps. Get persistent memory across sessions in under 5 minutes with one-click or CLI setup.
Give your AI agent persistent memory in just a few minutes. Watch the video for a quick overview, or jump straight to the step-by-step guide below.
## How to Start
Watch a quick walkthrough to see the full setup in action.
## 3-Step Guide
Follow these steps to connect your first AI agent to Membase.
### Step 1: Create Your Account
Go to [app.membase.so](https://app.membase.so) and create your account.
Membase is currently in **open beta**. Anyone can create an account and start using it while we continue improving the product.
### Step 2: Connect Your Agent
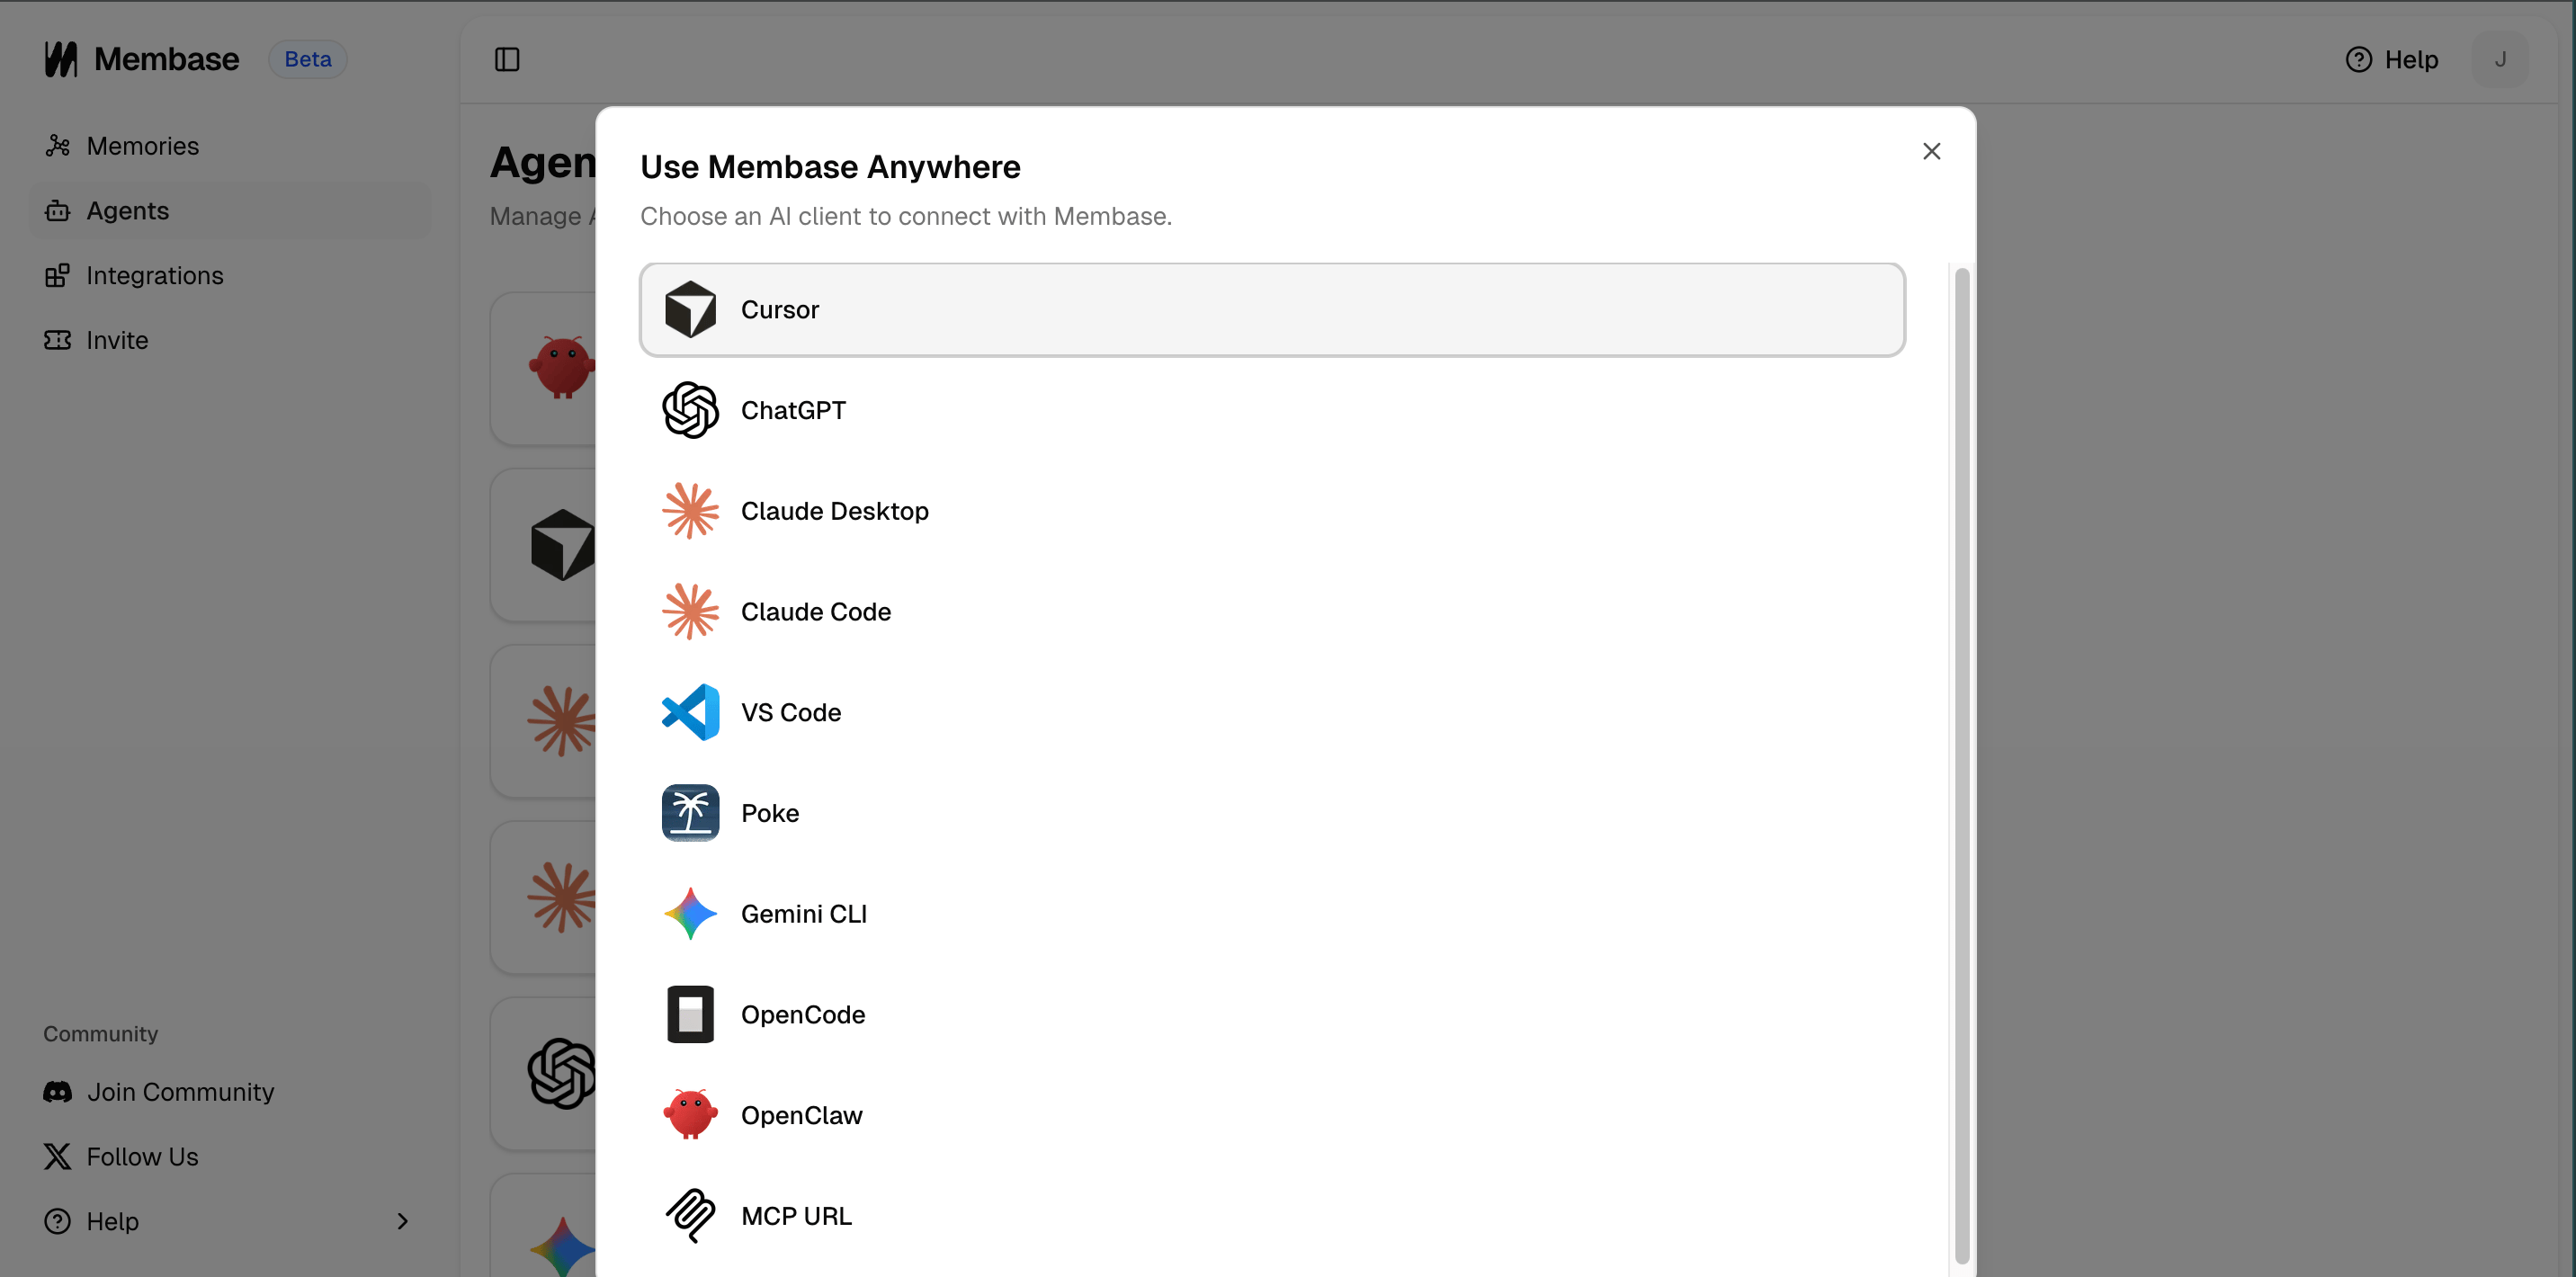
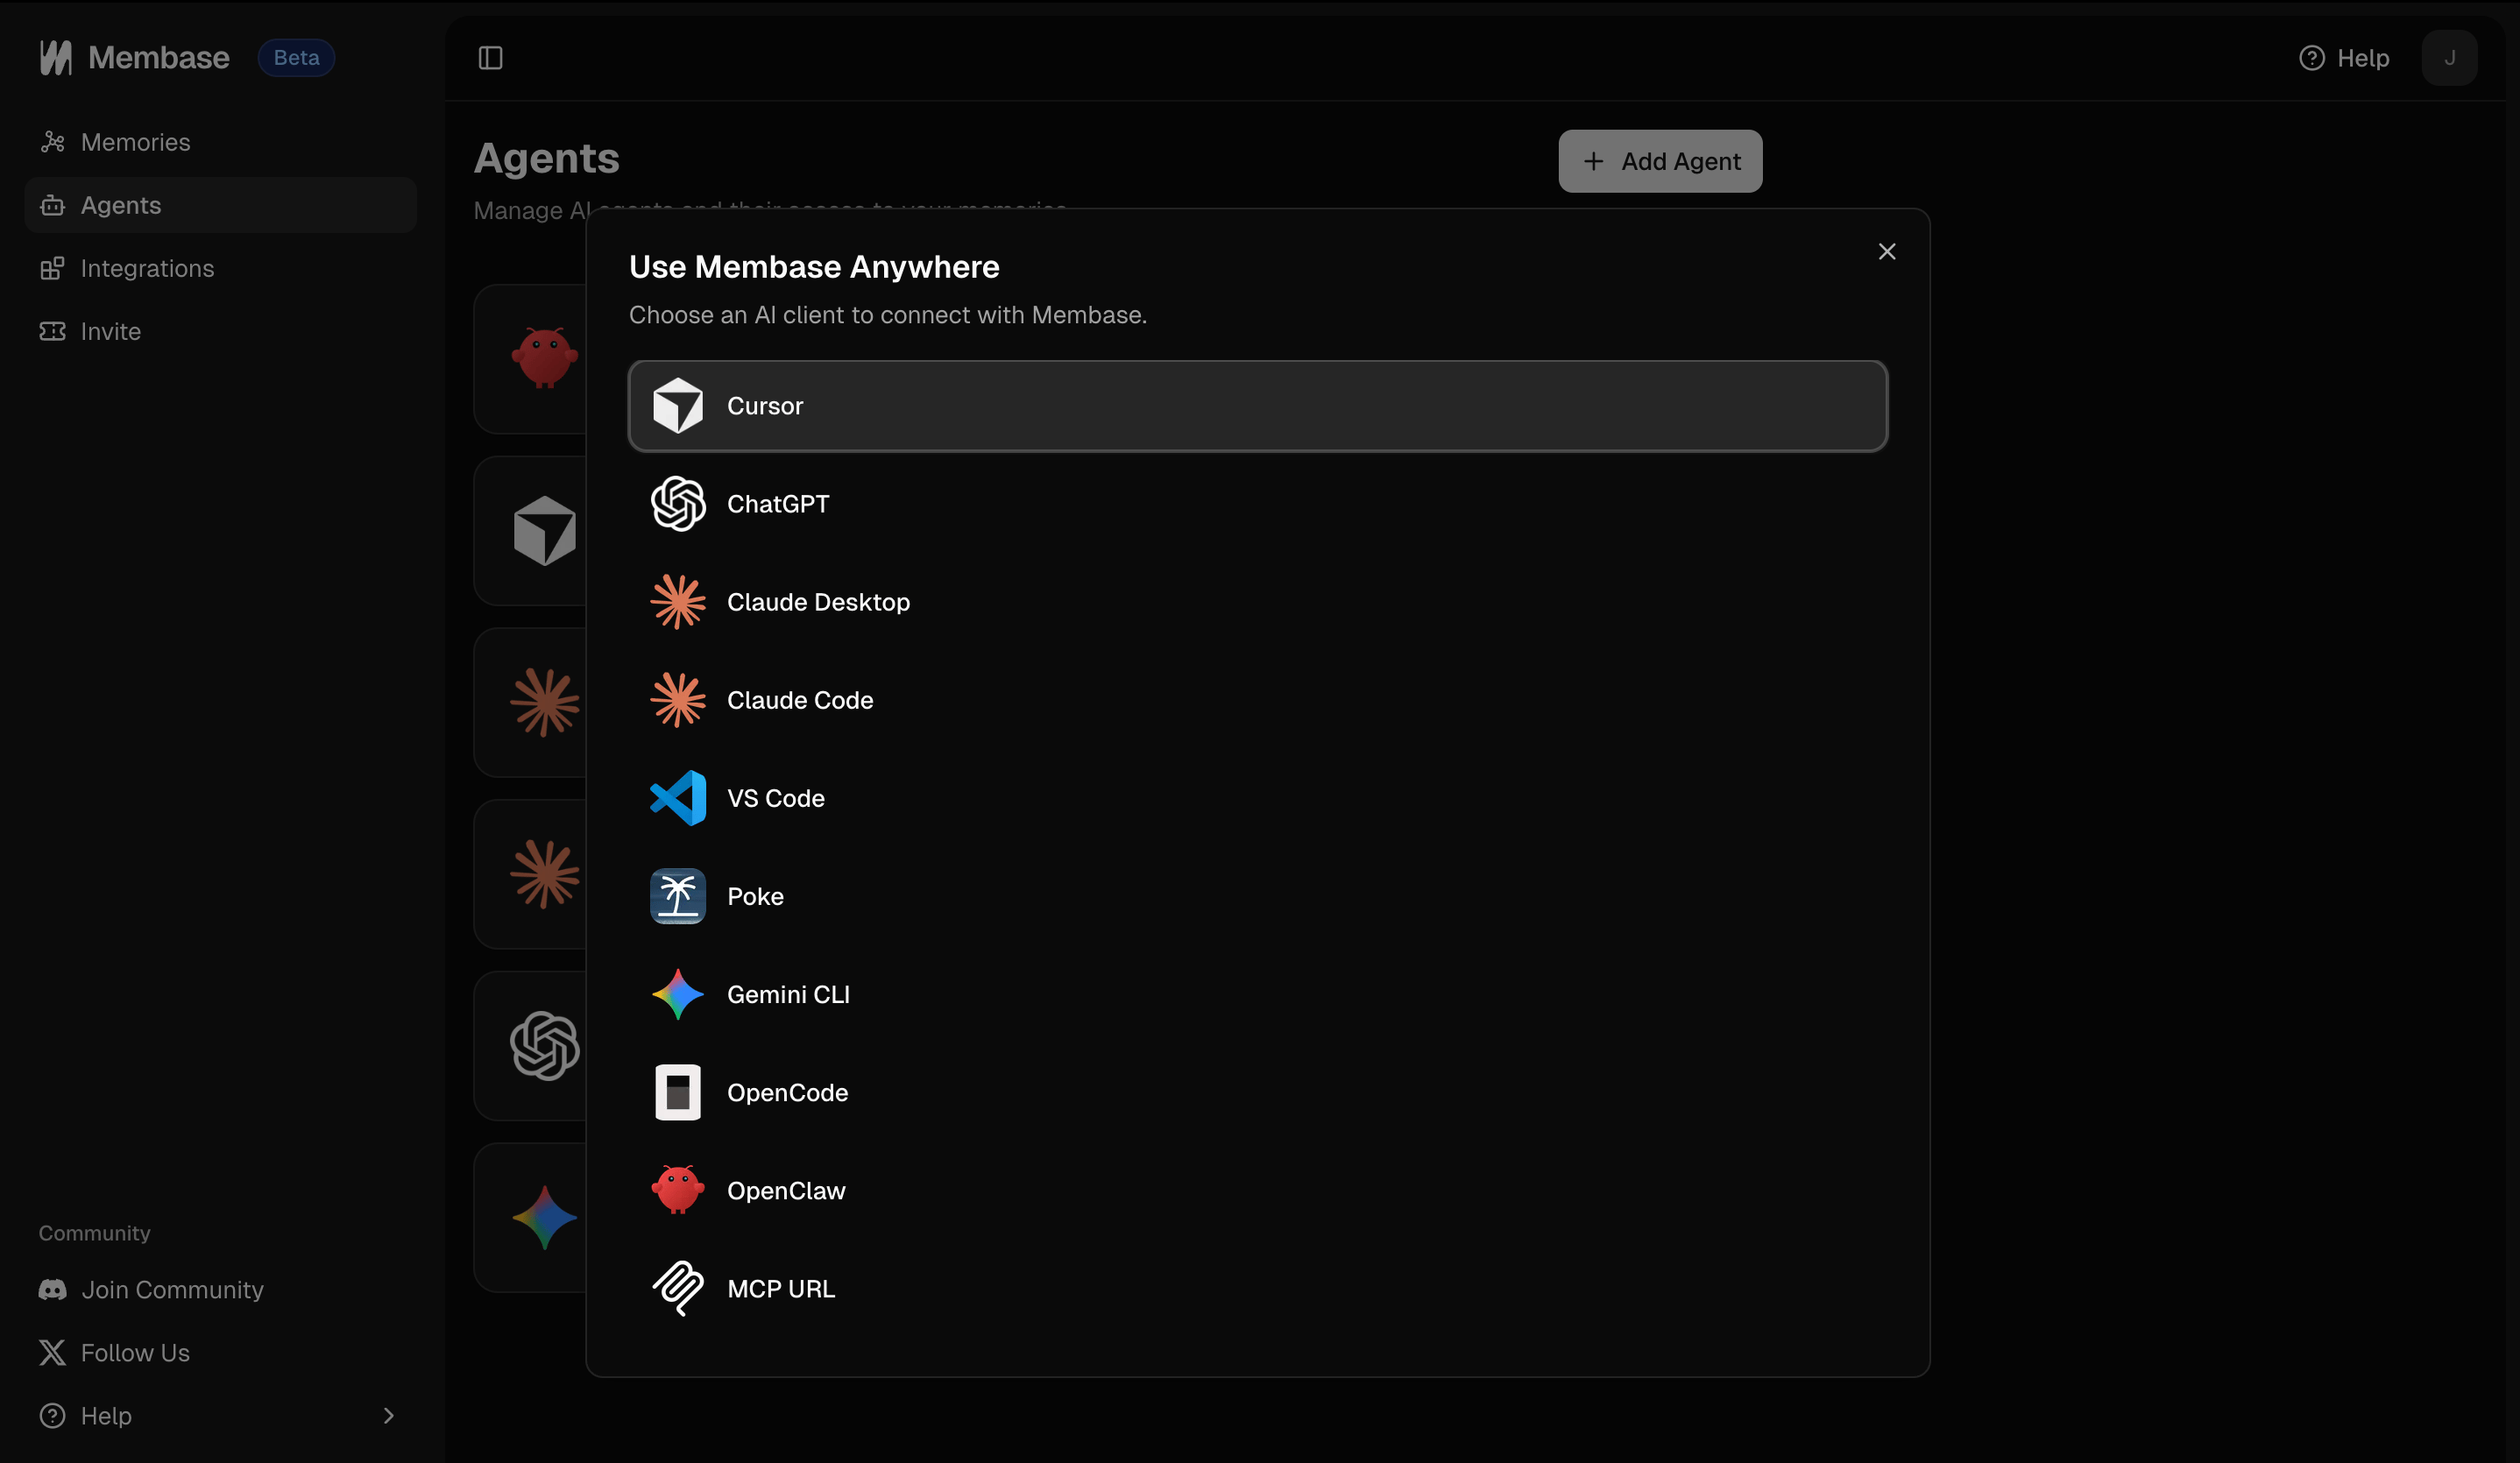
From the dashboard, go to the **Agents** tab and click **+ Add Agent**, then pick your client.
Most agents connect with a single command or one-click setup. Some plugin-based clients ask you to run a login command inside the agent after installation.
Click **"Add to Cursor"** in the dashboard. Cursor installs Membase automatically.
Go to **Settings > Apps > Advanced Settings**, click **Create app**, and enter the MCP URL:
```
https://mcp.membase.so/mcp
```
Go to [Claude connector settings](https://claude.ai/settings/connectors), click **Add custom connector**, and enter:
```
https://mcp.membase.so/mcp
```
Name the connector `Membase`, then click **Connect** and complete authentication.
Install the Claude Code plugin:
```bash theme={null}
claude plugin marketplace add aristoapp/claude-membase && claude plugin install membase@membase-plugins
```
If Claude Code is already open, run:
```text theme={null}
/reload-plugins
```
Then connect your Membase account:
```text theme={null}
/membase:login
```
Run this command in your terminal:
```bash theme={null}
npx -y membase@latest --client codex
```
Click **"Add to VS Code"** in the dashboard. VS Code installs Membase automatically.
Go to [Integrations](https://poke.com/integrations/new) and add the MCP URL:
```
https://mcp.membase.so/mcp
```
Run this command in your terminal:
```bash theme={null}
npx -y membase@latest --client gemini-cli
```
Run this command in your terminal:
```bash theme={null}
npx -y membase@latest --client opencode
```
Then authenticate:
```bash theme={null}
opencode mcp auth membase
```
Run this command in your terminal:
```bash theme={null}
openclaw plugins install @membase/openclaw-membase
```
Then log in:
```bash theme={null}
openclaw membase login
```
Run this command in your terminal:
```bash theme={null}
uv tool install hermes-membase && hermes-membase install
```
Requires Python 3.11+. If you prefer `pip`, `pip install hermes-membase && hermes-membase install` also works.
For any MCP-compatible client, use the server URL directly:
```
https://mcp.membase.so/mcp
```
For detailed step-by-step instructions, see the [Agents guide](/connectors/agents/cursor) for MCP clients, [Claude Code](/connectors/agents/claude-code) for the Claude Code plugin, plus the dedicated plugin pages for [OpenClaw](/connectors/openclaw) and [Hermes](/connectors/hermes).
### Step 3: Start Using Memory
Once connected, your agent can read from and write to Membase. There are two core operations: **saving** memory and **retrieving** it.
#### Saving memory (`add_memory`)
Tell your agent something worth remembering. Your agent calls `add_memory` to store it in Membase.
```text Your prompt theme={null}
I prefer TypeScript over JavaScript, and I use Bun as my package manager.
My current project is a Next.js app with Supabase for auth.
```
```text add_memory theme={null}
✓ Saves the conversation as an episode
✓ Extracts entities: TypeScript, Bun, Next.js, Supabase
✓ Links related entities and episodes in your knowledge graph
```
#### Retrieving memory (`search_memory`)
Next time you (or any connected agent) need context, your agent calls `search_memory` to pull relevant memories.
```text Your prompt theme={null}
Set up a new project for me.
```
```text search_memory → results theme={null}
✓ Found: "Prefers TypeScript over JavaScript"
✓ Found: "Uses Bun as package manager"
✓ Found: "Current project uses Next.js + Supabase"
→ Agent sets up the project with TypeScript, Bun, and Next.js without you repeating anything.
```
You don't need to trigger any of this manually. Your agent decides when to save and when to search. Just chat normally.
The same agent can also write and search **factual knowledge** via `add_wiki` and `search_wiki`. Memory is for personal context; the wiki is for reference material (docs, specs, stable notes). See the [Knowledge Wiki guide](/features/wiki) for details.
**You're all set!** Your agent now has persistent memory powered by Membase. Memories are automatically created, updated, and shared as you interact.
## Next Steps
Import chat history, connect Gmail, Calendar, and Slack.
Chat with Memory, agent retrieval, and dashboard exploration.
Store factual knowledge and import Notion, Obsidian, or Markdown files.
Full setup guides for all supported clients.
 Most agents connect with a single command or one-click setup. Some plugin-based clients ask you to run a login command inside the agent after installation.